Headstones serve as lasting reminders of our deceased loved ones. Over time, however, they can become dirty and covered in moss or lichen. While it’s important to respect the dead, it’s also vital to keep headstones clean so that they continue to serve as respectful memorials.
Cleaning headstones regularly can help prolong their lifespan and keep them looking their best. Plus, you’ll get to enjoy spending time in the cemetery visiting your loved ones’ gravesites.
Below, we’ll give you a step-by-step guide on how to clean headstones in the cemetery. By following these simple steps, you can ensure that your loved ones’ headstones are always clean and respectful.
What Supplies Do You Need To Clean Headstones?

Before you start cleaning headstones, it’s important to gather the right supplies. After all, you don’t want to damage the headstones by using the wrong products.
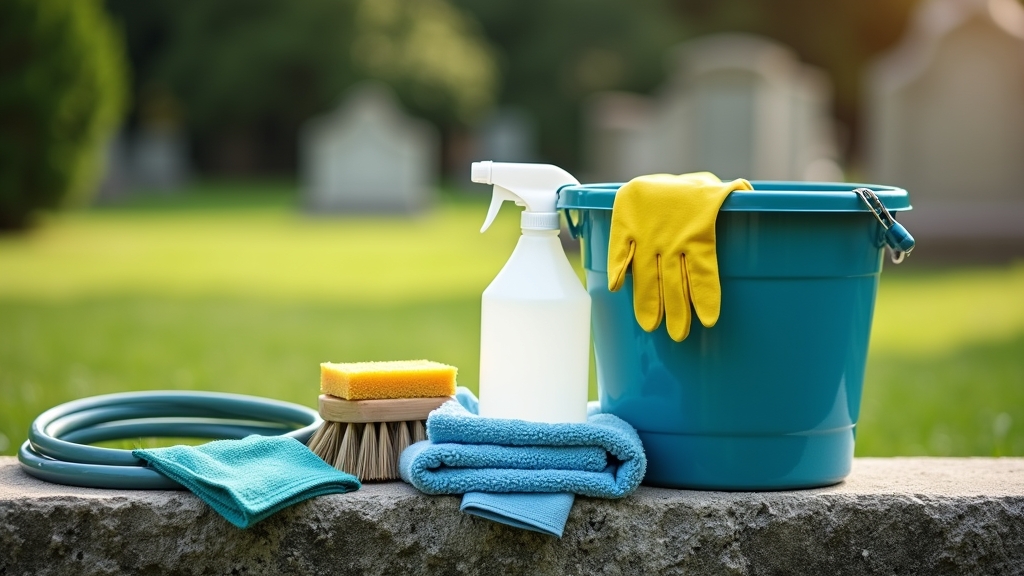
Here are some supplies that you’ll need to clean headstones:
- A soft brush: A soft-bristled brush is perfect for cleaning headstones. Avoid using a wire brush, as this can damage the stone.
- A bucket: You’ll need a bucket to hold your cleaning supplies.
- Mild dish soap: Dish soap is gentle enough to use on headstones without damaging them.
- White vinegar: Vinegar is a natural disinfectant that will help remove any moss or lichen growing on the headstone.
- A garden hose: You’ll need a garden hose to rinse off the headstone after you’ve cleaned it.
- Gloves: It’s a good idea to wear gloves when cleaning headstones, as the cleaners can be harsh on your hands.
- Sponge: A sponge can be used to apply the cleaning solution to the headstone.
- Towels: You’ll need towels to dry off the headstone after you’ve rinsed it off.
How To Clean Headstones: A Step-By-Step Guide
Now that you have all of the necessary supplies, you’re ready to start cleaning headstones. Here’s a step-by-step guide on how to clean headstones:
Step 1: Inspect the Headstone

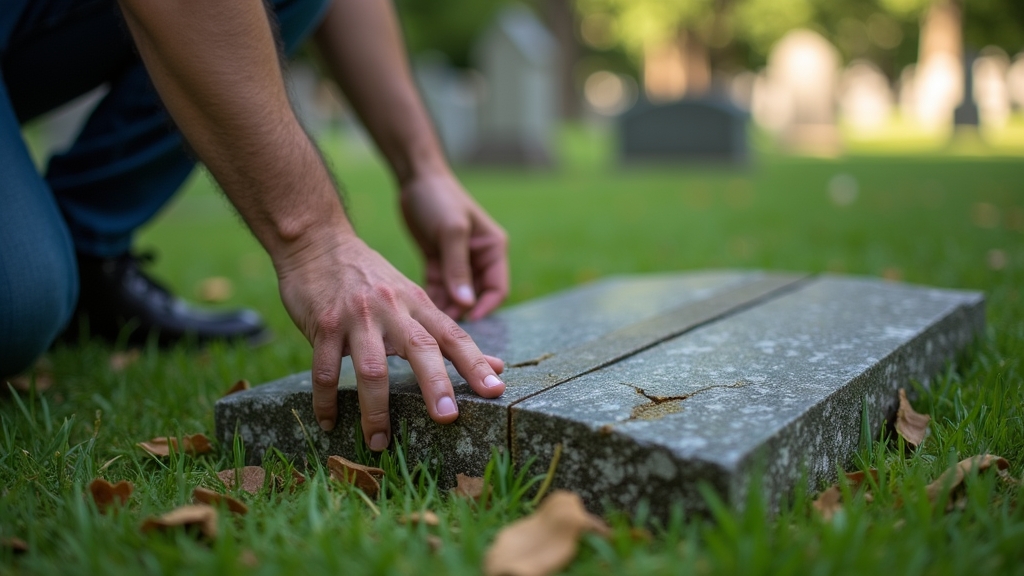
Before you start cleaning, it’s important to inspect the headstone. Look for any cracks or chips in the stone, as these could become worse if you use a wire brush to clean them. If you notice any cracks or chips, you can try to repair them with epoxy before you start cleaning.
You should also steer clear from using hard-thistle brushes if the headstone shows any signs of erosion. These brushes can further damage the stone and cause more erosion.
Lastly, you’ll want to take bleach out of the equation altogether. While bleach can be effective at killing mold and mildew, it’s also incredibly harsh and can damage headstones, leading to brown staining and streaks.
Step 2: Soak the Headstone
Once you’ve inspected the headstone, it’s time to soak it.
You might be wondering why even bother soaking the headstone when you’re just going to rinse it off anyway.
Headstones are infamous for being porous, soaking up cleaning solution even before you start scrubbing. By soaking the headstone in advance, you can give the cleaning solution more time to work its magic and break down any dirt, grime, or moss that’s attached to the stone.
To soak the headstone, spray it down using a hose or a bucket of water. Make sure to cover the entire surface of the headstone. Then, let the water sit on the headstone for about 15 minutes.
Pressure washing is also an effective way to soak headstones. Just be sure to use a low setting so that you don’t damage the stone.
Step 3: Mix Your Cleaning Solution
Unless you have bought a headstone cleaner, you’ll need to mix your own cleaning solution.
However, don’t fret – it’s actually pretty simple to make your own headstone cleaner! All you need is some ammonium hydroxide, water, and dish soap.
To make the cleaner, dilute ammonium hydroxide with water in a 1:4 ratio. Then, add a few drops of dish soap and mix everything together.
Ammonium hydroxide is a powerful cleaning agent that will help to remove any dirt, grime, or moss from the headstone. However, it’s also quite harsh. Be sure to use gloves when handling it, and avoid getting it on your skin or clothes.
Step 4: Apply the Cleaning Solution

Now that you’ve mixed your cleaning solution, it’s time to apply it to the headstone.
Before doing anything, make sure to test the cleaning solution in an inconspicuous place on the headstone. This will help you to make sure that it won’t damage the stone.
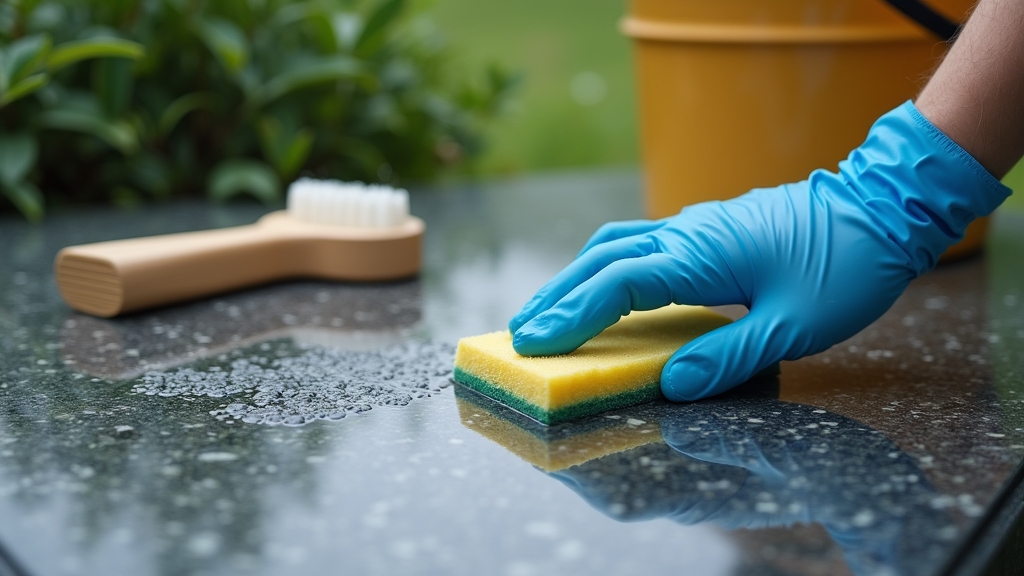
Once you’ve tested the solution, apply it to the headstone using a sponge or a clean cloth. Be sure to work in small sections so that the solution doesn’t dry on the headstone.
Once you’ve applied the solution to the headstone, let it sit for about 15 minutes. This will give the solution time to break down all of the grime, moss, and dirt on the stone.
Step 5: Scrub the Headstone
After letting the cleaning solution sit on the headstone for 15 minutes, it’s time to start scrubbing. This is an optional step, but it will help to remove any stubborn dirt or grime from particularly dirty headstones.
Using a soft-bristled brush, scrub the headstone in a circular motion. Be sure to go over the entire surface of the headstone from top to bottom.
If you notice any stubborn dirt or grime that won’t come off, you can apply more cleaning solution and let it sit for a few more minutes before scrubbing again.
Make sure to avoid any flakes or cracks when you’re scrubbing. These areas are more likely to be damaged by the brush, and you don’t want to worsen the problem.
Step 6: Rinse the Headstone
Once you’ve scrubbed the headstone, it’s time to rinse off all the cleaning solutions. This is the easiest step in the process since all you have to do is spray down the headstone with a hose or a bucket of water.
Be sure to rinse the headstone thoroughly, removing all the cleaning solutions. You don’t want to leave any residue on the stone, as this can lead to streaking.
You’ll also want to rinse the headstone from the bottom up. This will help prevent any water from seeping into cracks or flakes in the stone and causing further damage.
Avoid using a pressure washer for this step, as the high pressure of the water can damage the headstone.
Step 7: Dry the Headstone

After rinsing the headstone, it’s important to dry it off as soon as possible. Water can cause damage to headstones, so you want to make sure that the stone is completely dry before moving on.
One of the best ways to dry a headstone is with a chamois cloth. This soft cloth will absorb all of the water from the headstone without damaging it.
If you don’t have a chamois cloth, you can also use a clean, soft towel. Just be sure to avoid using any abrasive materials, like paper towels, as these can damage the headstone.
Once the headstone is dry, you’re all finished! Your headstone should now be clean and free of dirt, grime, or moss.
Shouldn’t I Apply a Sealer to the Headstone After Cleaning It?
It’s a common misconception that you need to apply a sealer to headstones after cleaning them. In reality, this isn’t necessary and can actually do more harm than good.
Sealers can provide a temporary layer of protection against weathering, but they will eventually wear away. This can leave the headstone vulnerable to damage, and you’ll likely need to clean it more often.
Applying a sealer can also trap moisture underneath, which can lead to the growth of mold and mildew. This can cause even more damage to the headstone, so it’s best to avoid sealers altogether.
Plus, stones also need to “breathe” (i.e., absorb and release moisture) in order to stay healthy. Applying a sealer can prevent this from happening, which can cause even more damage down the road.
Tips for Cleaning Headstones
Yes, cleaning headstones is a lot of work. But it’s important work, and it doesn’t have to be as difficult as you might think.
Here are a few tips to make the process easier:
Check the Gravestone’s Condition
As we mentioned earlier, you don’t want to damage the gravestone while you’re cleaning it. So, before you begin, take a close look at the stone.
Is it cracked or chipped? Do you see any loose pieces?
If the answer to either of those questions is yes, then you’ll need to take extra care while you’re cleaning. You don’t want to use harsh chemicals or abrasive materials on a fragile gravestone.
Choose a Temperate Day
You might be tempted to clean the gravestone on a sunny day. After all, the sun will help dry everything off quickly, right?
Wrong.
The truth is, cleaning on a hot day can actually damage the stone. Pouring cold water on a headstone that’s hot to the touch can cause it to crack. Similarly, if it’s freezing outside, the water you use to clean could freeze and damage the stone.
The best time to clean a gravestone is on a cool, overcast day.
Don’t Overdo It
We know you want to make sure the gravestone is clean. But resist the urge to clean the headstone too often.
Cleaning a gravestone too frequently can actually damage it. Each time you clean, some of the stone’s outer layer is removed. Over time, this can lead to the stone becoming weaker and more fragile.
We recommend cleaning a gravestone at most once or twice a year.
The Bottom Line
Cleaning headstones is important work. But it doesn’t have to be difficult. Just follow the steps we outlined above, and you’ll have the gravestone looking like new in no time.
Make sure to also keep the tips mentioned above in mind, as failing to adhere to them can cause irreparable damage to your loved one’s headstone.
